You can make fabric storage boxes for any space at home. With some fabric, you can make storage for every room. These fabric boxes come in many shapes and sizes. You might want closet storage bins or under bed storage. You can also make shoe organizers or bed sheet organizers. You can make extra large storage bins or storage baskets for shelves. Each one uses fabric to keep things neat and look nice. When you pick your favorite fabric, you show your style. You also make something strong that will last a long time.
Key Takeaways
- Pick strong fabrics like canvas or cotton. These fabrics help your boxes last longer and look nice.
- Measure your space before you cut the fabric. Good measurements help your boxes fit well in any spot.
- Use fusible interfacing to make your boxes stronger. This step helps your boxes stand up and hold heavy things.
- Try both sewing and no-sew ways to make your boxes. Each way lets you choose what works best for you.
- Add handles and labels to your boxes. These extras make your boxes easy to use and keep things organized. Personal touches also make your boxes look cool and work better.
Materials for Fabric Boxes
Choosing Fabric and Interfacing
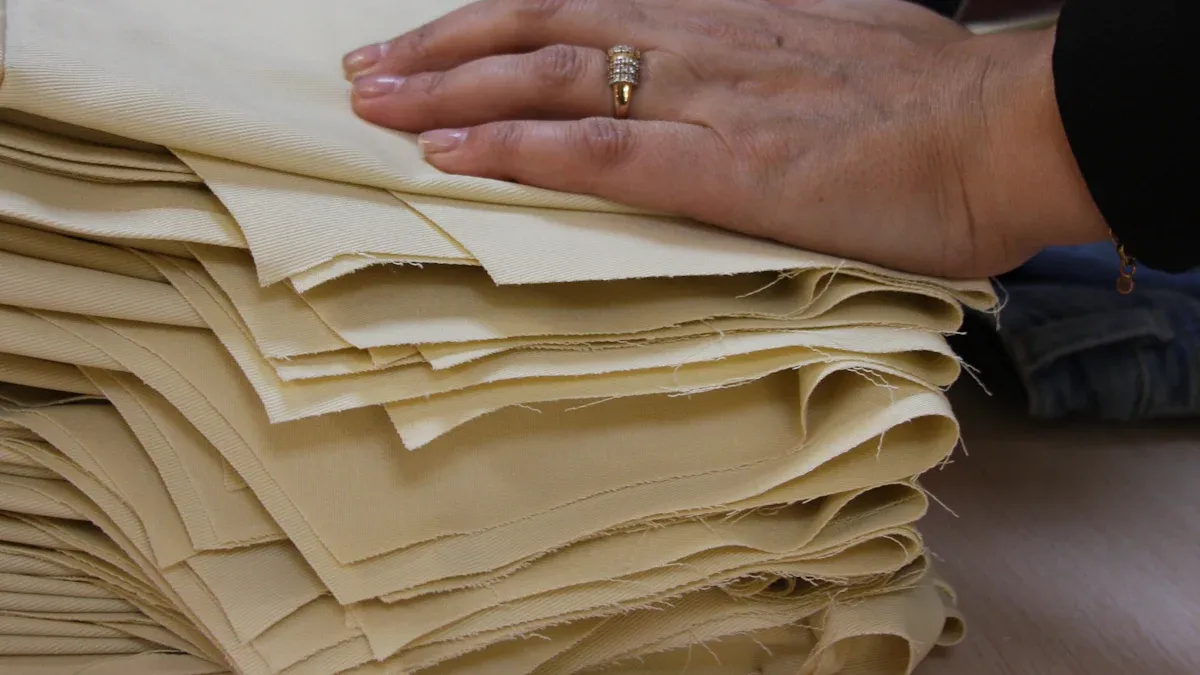
When you start making storage boxes, the fabric you choose makes a big difference. Pick a fabric that feels sturdy and easy to clean. Canvas, cotton, or denim work well for most spaces. If you want a softer look, try linen or a thick quilting fabric. For kids’ rooms, you might want a bright, patterned fabric that hides stains. Always wash and press your fabric before you begin. Pressing helps remove wrinkles and makes your cuts more accurate.
You also need interfacing to give your fabric box structure. Here are some popular choices:
- Fast2Fuse, Pellon Peltex, or foam add heavyweight support.
- Vilene S520 or Pellon Deco Fuse give you a thin but stiff feel.
- Decovil I offers a strong, sturdy base for larger boxes.
If you want your fabric box to stand up straight, don’t skip the interfacing step.
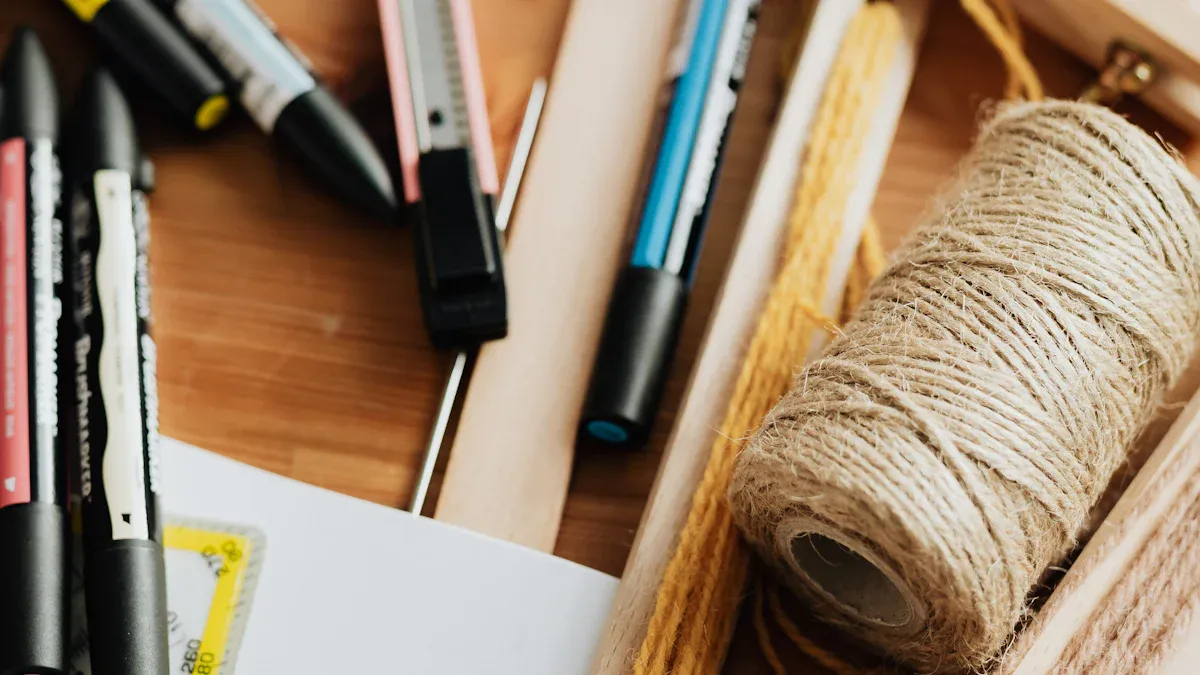
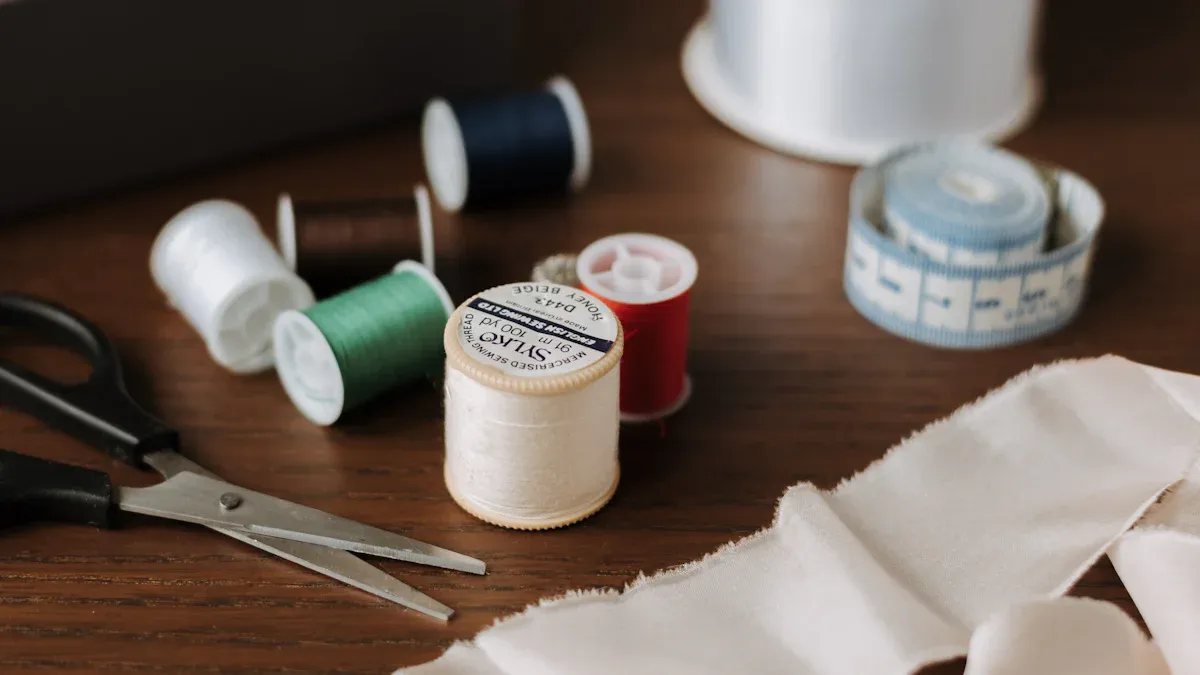
Tools and Supplies List
You don’t need fancy tools to make a fabric storage box. Most supplies are easy to find at home or in craft stores. Here’s what you’ll need:
- Cardboard box (like a diaper, shipping, or shoe box)
- Canvas drop cloth or your chosen fabric
- Spray adhesive or hot glue gun
- Scissors and fabric scissors
- Measuring tape and ruler
- Pencil for marking
- Steam-a-Seam or fabric glue
- Iron with steam setting
- 1″ wide webbing, ribbon, or decorative brads for handles
- Seam gauge, quilter’s rulers, or rotary cutter (optional)
These tools work for both sew and no-sew methods. You can pick what fits your project best.
Sizing Tips for Any Space
Think about where you want to use your fabric storage box. Measure the shelf, drawer, or space first. Write down the length, width, and height. Add an extra inch to each side for seam allowance and folding. If you want a box for deep shelves, go bigger. For drawers, keep the fabric box short and wide. You can use cardboard, foam core, or even thin plywood as a rigid base inside your fabric box. This helps your box keep its shape and hold heavier items.
Tip: Always press your fabric before cutting. This step keeps your lines straight and your finished box looking neat.
With the right fabric, sturdy interfacing, and a few simple tools, you can make a fabric storage box that fits any space in your home.
How to Make Fabric Storage Boxes
Measuring and Cutting Fabric
You want your fabric storage boxes to look neat and fit your space perfectly. Start by measuring the area where you plan to put your box. Write down the length, width, and height. Use these numbers to plan your fabric pieces. For each box, you need six panels: one for the bottom and one for each side.
Lay your fabric flat on a clean surface. Use a ruler and pencil to mark your measurements. Add one inch to each side for seam allowance and folding. This extra space helps you sew or glue the panels together without making the box too small.
Here are some common mistakes people make when measuring and cutting fabric:
- Skipping the wash before cutting. This can cause your fabric to shrink later.
- Not squaring the fabric. Crooked edges make your box look uneven.
- Ignoring the grain of the fabric. This can twist your panels and make them hard to sew.
- Not buying enough fabric for matching patterns. Stripes and plaids may not line up.
- Picking the wrong type of fabric. Thin or stretchy fabric will not hold the box shape.
Tip: Always press your fabric before you cut. This step keeps your lines straight and your box looking sharp.
Adding Fusible Interfacing
Fusible interfacing gives your fabric storage boxes their strength. Cut interfacing pieces to match each fabric panel. Place the rough side of the interfacing against the wrong side of your fabric. Use a hot iron with steam to press them together. Hold the iron in place for a few seconds, then lift and move to the next spot. Do not slide the iron or you might wrinkle the fabric.
Fusible interfacing makes your fabric stiffer and stronger. It helps your fabric box keep its shape. You can stack boxes or fill them with heavy items. The interfacing also protects your fabric from wear and tear. Your fabric storage boxes will last longer and look better.
Note: If you want extra sturdy sides, use two layers of interfacing or pick a heavyweight type.
Preparing the Rigid Base
A rigid base keeps your fabric box from sagging. You can use cardboard, foam core, or thin plywood. Cut the base to match the bottom panel of your box. Make sure the edges are straight and smooth. If you want to cover the base, cut a piece of fabric a little larger than the base. Wrap the fabric around the base and glue or tape it in place.
Slide the base into the bottom of your box before you sew or glue the last side. This step gives your box a strong foundation. You can remove the base later if you need to wash the fabric.
Callout: Double-check your measurements before you cut. Accurate cuts make your fabric boxes look professional and fit your space perfectly.
Now you know how to make fabric storage boxes that are sturdy and stylish. You can follow this tutorial for both sew and no-sew methods. If you want more details on sewing, check out the sewing tutorial in the next section. With these steps, you can create a custom fabric box for any room in your home.
Fabric Box Sewing Tutorial
Sewing the Inner Sides
Let’s start the sewing tutorial by joining the sides of your fabric box. Lay out your fabric panels with the interfacing already fused. Place two side panels right sides together. Sew along one edge using a 1/8 inch seam allowance. Repeat this step for each side, connecting all four panels in a row. You’ll create a long strip that wraps around to form the sides of your box. Remember to press each seam flat after sewing. Pressing at each step helps your fabric look crisp and makes the next steps easier.
Forming the Box Shape
Now you’ll see your fabric storage boxes take shape. Bring the ends of your sewn strip together, right sides facing, and sew the final seam to make a tube. Next, pin the bottom panel to the open edge of the tube. Sew around all four sides, leaving a small gap if you want to turn the box right side out later. For sharp corners, pull the fabric at each corner to form a triangle, then draw a line across the bottom and sew along it. This trick gives your box neat, professional corners. If you want a flat bottom, try mitered corners for a smooth finish.
Reinforcing for Sturdiness
You want your fabric boxes to last, so reinforcing the seams is key. Use bar tacking at the corners and any spots that will handle extra weight. For even more strength, try a Box-X stitch on the handles or anywhere you expect stress. These techniques help your fabric storage boxes hold up to daily use. After sewing, trim the seam allowances and press everything again. A stitch-and-press approach gives your finished fabric box a polished look. Always test your iron on a scrap piece of fabric to find the right temperature.
This sewing tutorial shows you how to make sturdy, stylish storage for any room. With a few simple steps, you can sew fabric boxes that look great and last a long time.
No-Sew Fabric Box Method
You don’t need a sewing machine to make fabric boxes that look great and last. The no-sew method uses glue and tape to help you build sturdy fabric storage boxes for any space. This approach works well if you want a quick project or don’t have sewing skills.
Gluing Fabric to Base
Start by picking the right adhesive for your fabric. Some glues work better than others. Here’s a quick guide:
| Adhesive Type | Best Use | Durability | Fabric Compatibility |
|---|---|---|---|
| Adhesive Tape | Hemming, repairs | High (wash-safe) | Cotton, polyester, vinyl |
| Permanent Glue | Patches, small repairs | Moderate | Cotton, denim, synthetics |
| Iron-On Tapes | Detailed designs | High (25+ washes) | Cotton, polyester |
| Stretch Fix | Stretchy fabrics | Moderate | Knits, elastic materials |
For most fabric storage boxes, stick and spray adhesive for fabric works well. The orange can gives a strong, washable bond. The dark blue can lets you reposition the fabric before it sets.
Lay your fabric flat and spray the adhesive on the wrong side. Place your rigid base (like cardboard or foam core) on top. Smooth the fabric over the base, pressing out any bubbles or wrinkles.
Assembling with Tape
Now you’ll build the sides of your fabric box. Use double-sided adhesive tape or iron-on tape for a clean finish. Tape the fabric panels together, matching the edges. Press firmly so the tape sticks well. If you use iron-on tape, follow these steps:
- Clean and dry your fabric.
- Cut the tape to fit the seam.
- Place the tape glue-side down, iron it, then peel off the backing.
- Fold the edge and iron again to seal.
Glue gives a stronger hold than tape, especially for heavy storage. Tape works best for light items or quick projects.
| Material | Durability | Notes |
|---|---|---|
| Glue | Stronger and more durable | Great for long-term or heavy storage |
| Tape | May peel or lose adhesion | Best for light use or gentle handling |
Tip: Always press the seams and corners with your hands or a tool to keep your fabric box neat.
Finishing Edges
To finish your fabric box, fold the raw edges inside and secure them with glue or tape. You can add ribbon or bias tape for a polished look. Make sure all corners are tight and smooth. Let the glue dry fully before using your fabric box for storage.
If you want your fabric boxes to last, use glue for the main seams and tape for details. This mix gives you both strength and a tidy finish. With these steps, you can create custom fabric storage boxes without sewing.
Customizing and Using Fabric Boxes
Adding Handles or Labels
You can make your fabric box better by adding handles or labels. Handles help you pull boxes off shelves or move them easily. You can sew on webbing, use ribbon loops, or add decorative brads for style. Labels help you find things fast. Here are some ways to label your fabric storage boxes:
- Chipboard tags with double-stick tape
- Clip-on label holders for changing colors or fonts
- Magnetized labels that do not hurt your fabric
- Vinyl peel-and-stick labels for quick changes
Tip: Try different label styles to match your room or help kids find their toys.
Decorative Ideas
Decorating your fabric boxes can be fun and creative. Use fabric Mod Podge to add bright or patterned fabric to the lids. This helps your storage match your room’s style. You can also make fabric labels or holders in many shapes and colors. Add ribbon trim, buttons, or small windows to show what is inside. These details make plain fabric storage boxes look special.
Storage Uses in Any Room
Fabric storage boxes are useful in every room. In bedrooms, use lidded baskets to hide messes and keep things neat. Kitchens need waterproof fabric for holding produce or utensils. Living rooms look nice with baskets for blankets or cushions. In kids’ rooms, fabric boxes hold toys, books, and clothes. See the table below for more benefits:
| Benefit | Description |
|---|---|
| Durability | Good fabric lasts through daily use. |
| Versatility | Store toys, clothes, or books easily. |
| Space-Saving Design | Collapsible boxes fit in small spaces or on shelves. |
If you have a business or need lots of storage, our company makes home storage easy and useful. Organized spaces help you feel calm and work better. You can order many fabric boxes for any project.
Organized storage helps every space feel calm and helps you get more done.
You can try both sew and no-sew methods to see which you like best. Experiment with different fabrics and sizes to match your style. Making your own storage boxes lets you pick colors and prints you love, and it often costs less than buying ready-made ones. Fabric boxes are eco-friendly, easy to fold, and washable. Share your finished projects or ask questions below—your ideas might inspire someone else to learn how to make their own!
FAQ
How do I clean my fabric storage boxes?
You can spot clean most fabric boxes with a damp cloth and mild soap. For washable fabrics, remove the rigid base and toss the fabric in the washing machine. Always air dry to keep the shape.
Can I make extra-large fabric storage boxes?
Yes! Just measure your space and cut larger panels. Use heavyweight interfacing and a sturdy base like plywood for bigger boxes. This helps your box stay strong and hold more items.
What if I don’t have a sewing machine?
No worries! You can use fabric glue, double-sided tape, or iron-on adhesive. The no-sew method works great for beginners and still gives you a neat, durable box.
Which fabrics work best for kids’ rooms?
Choose cotton, canvas, or denim for kids’ spaces. These fabrics are easy to clean and come in fun patterns. Bright colors or prints can hide stains and make organizing more fun.
Can I order fabric storage boxes in bulk for my business?
Absolutely! If you need many storage boxes for your business or project, reach out to us. We offer bulk solutions and can help you organize any space efficiently.